How to Find Macs With SIP Disabled and Enable It
SIP protects Macs by preventing them from running unauthorized code. It should be enabled.
What Is System Integrity Protection?
System Integrity Protection (often abbreviated as SIP) is a critical and foundational component of modern macOS security. At its core, SIP restricts all users of the system (even the root user) from modifying files that are part of the OS.
When SIP is enabled the following folders have this write protection that prevent them from being modified:
/System/usr/bin/sbin/var- Most pre-installed macOS apps
Additionally, SIP goes beyond write protection and can actually prevent you (and software that you run) from reading or even listing certain sensitive or protected files. For example, the DB file that contains all of the information that powers the Screen Time feature is completely inaccessible, even as root.
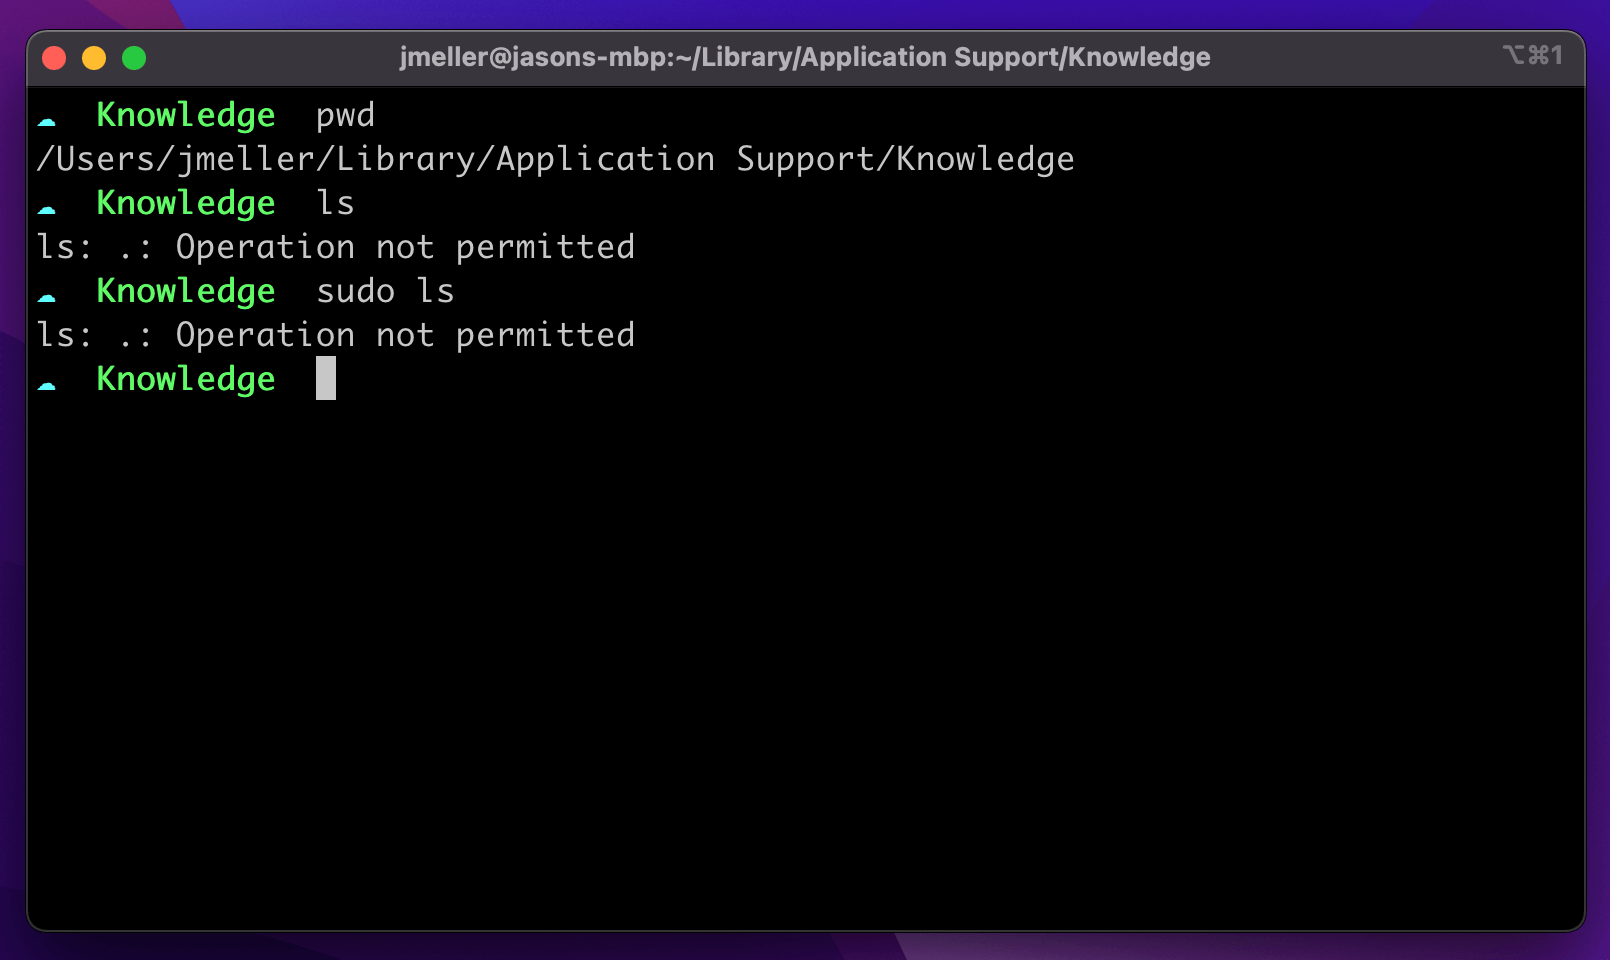
~/Library/Application Support/Knowledge/knowledgeC.db you can’t even tell it’s thereOnce enabled, the only apps which can modify and read files protected under SIP are ones that are signed by Apple and contain specific entitlements.
How Do I Detect if SIP Is Enabled?
Using the Terminal
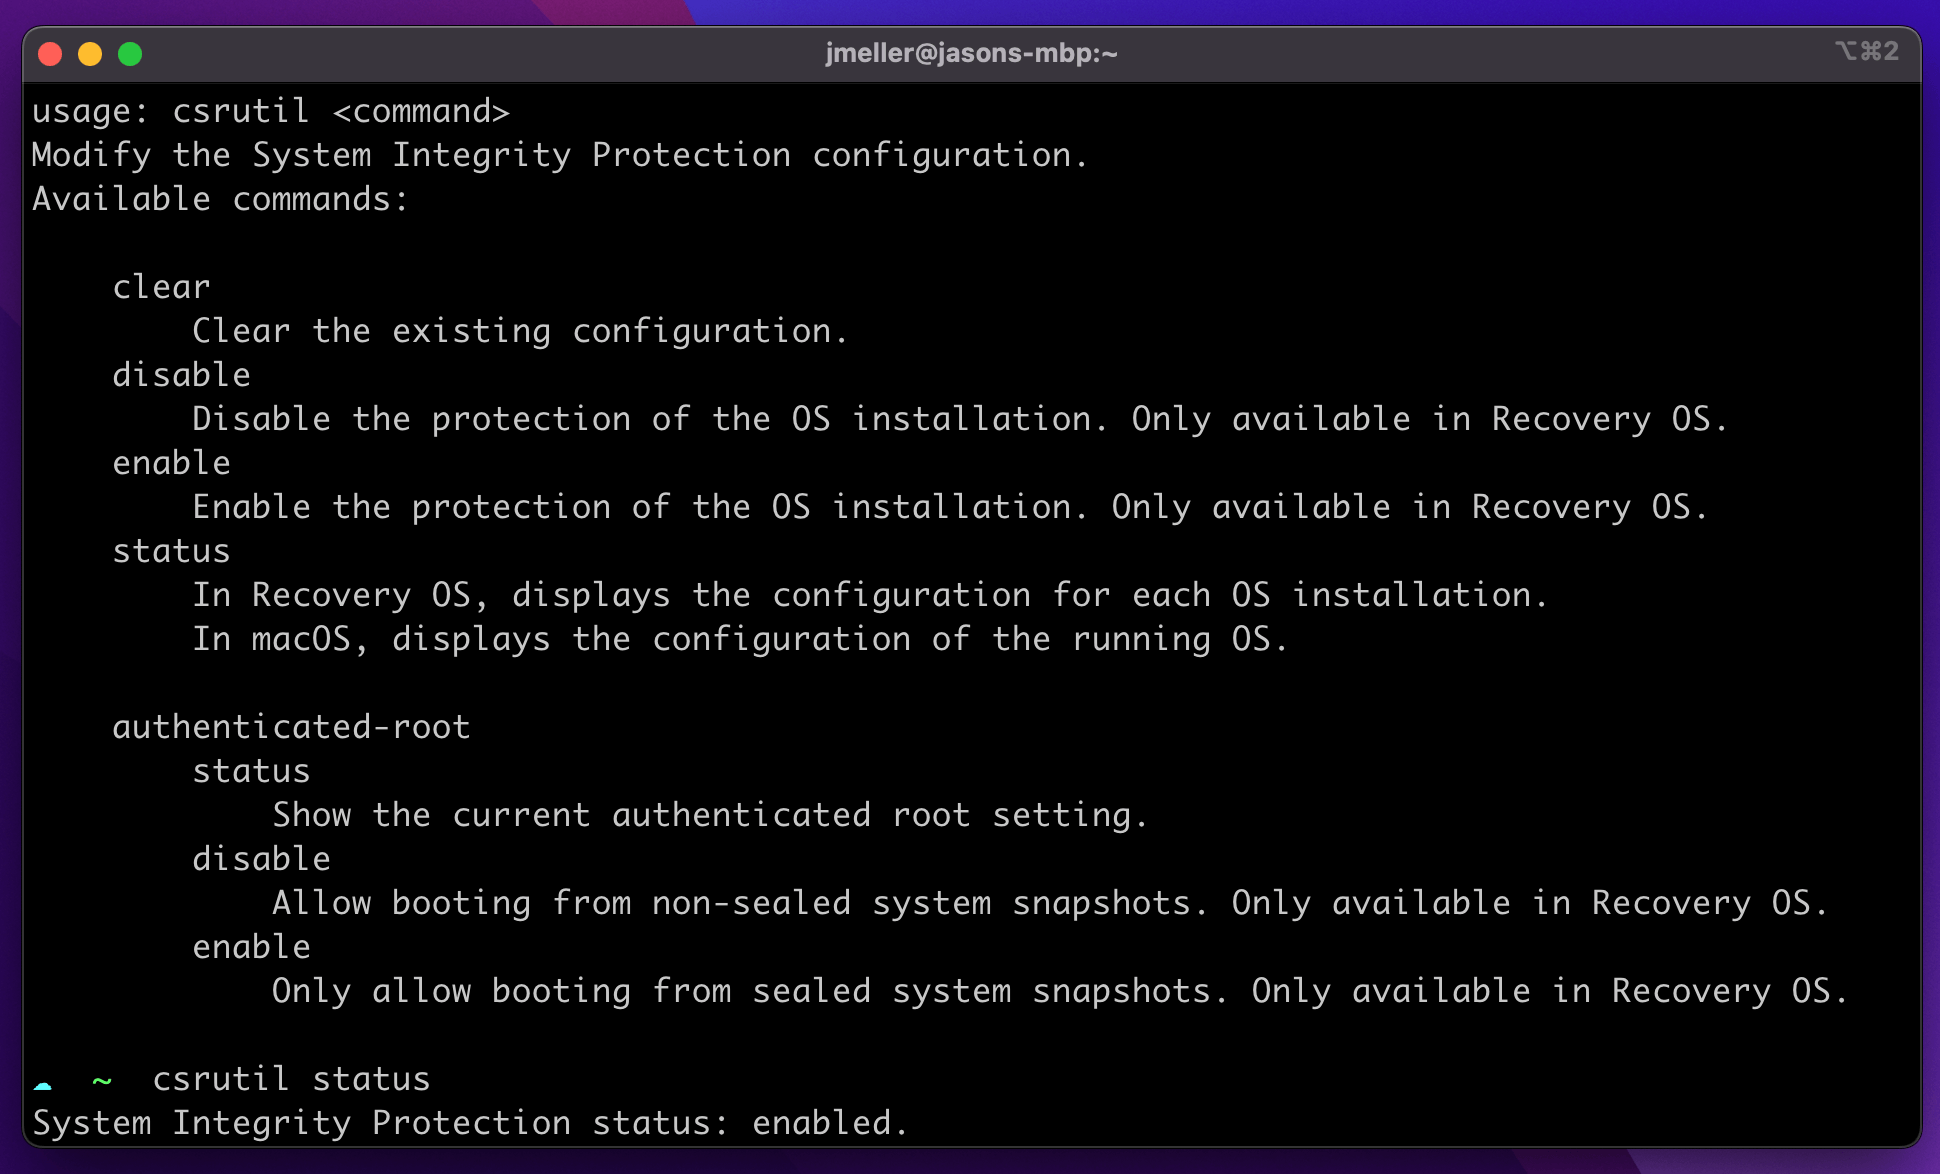
Checking the status of System Integrity Protection can be done from the terminal
using the utility csrutil.
csrutil status
csrutil command can be used to determine the status of SIP but
cannot be used to enable/disable unless you are booted into Recovery ModeUsing Osquery
You can also use an open-source tool like osquery to determine the status of the macOS’ SIP.
SELECT * FROM sip_config;
+----------------------------+---------+---------------+
| config_flag                | enabled | enabled_nvram |
+----------------------------+---------+---------------+
| sip                        | 1       | 1             |
| allow_apple_internal       | 0       | 0             |
| allow_device_configuration | 0       | 0             |
| allow_kernel_debugger      | 0       | 0             |
| allow_task_for_pid         | 0       | 0             |
| allow_unrestricted_dtrace  | 0       | 0             |
| allow_unrestricted_fs      | 0       | 0             |
| allow_unrestricted_nvram   | 0       | 0             |
| allow_untrusted_kexts      | 0       | 0             |
+----------------------------+---------+---------------+
Why Would System Integrity Detection Be Disabled?
System Integrity Protection is such an important security feature, it’s hard to imagine any valid scenarios where it would be turned off intentionally. That said, there are a few situations where this happens:
Erroneously Turned Off at the Factory
For a short-time in late 2016, Apple accidentally shipped its recently re-designed Macbook Pros with System Integrity Protection Disabled. This was an error, but if you have a Macbook Pro from this time-period it is possible for SIP to still be disabled.
Disabled Intentionally by End-Users
Software that dramatically alters the functions of macOS or interfaces with non-standard hardware (devices not designed to be used with PCs) often asks end-users to disable SIP.
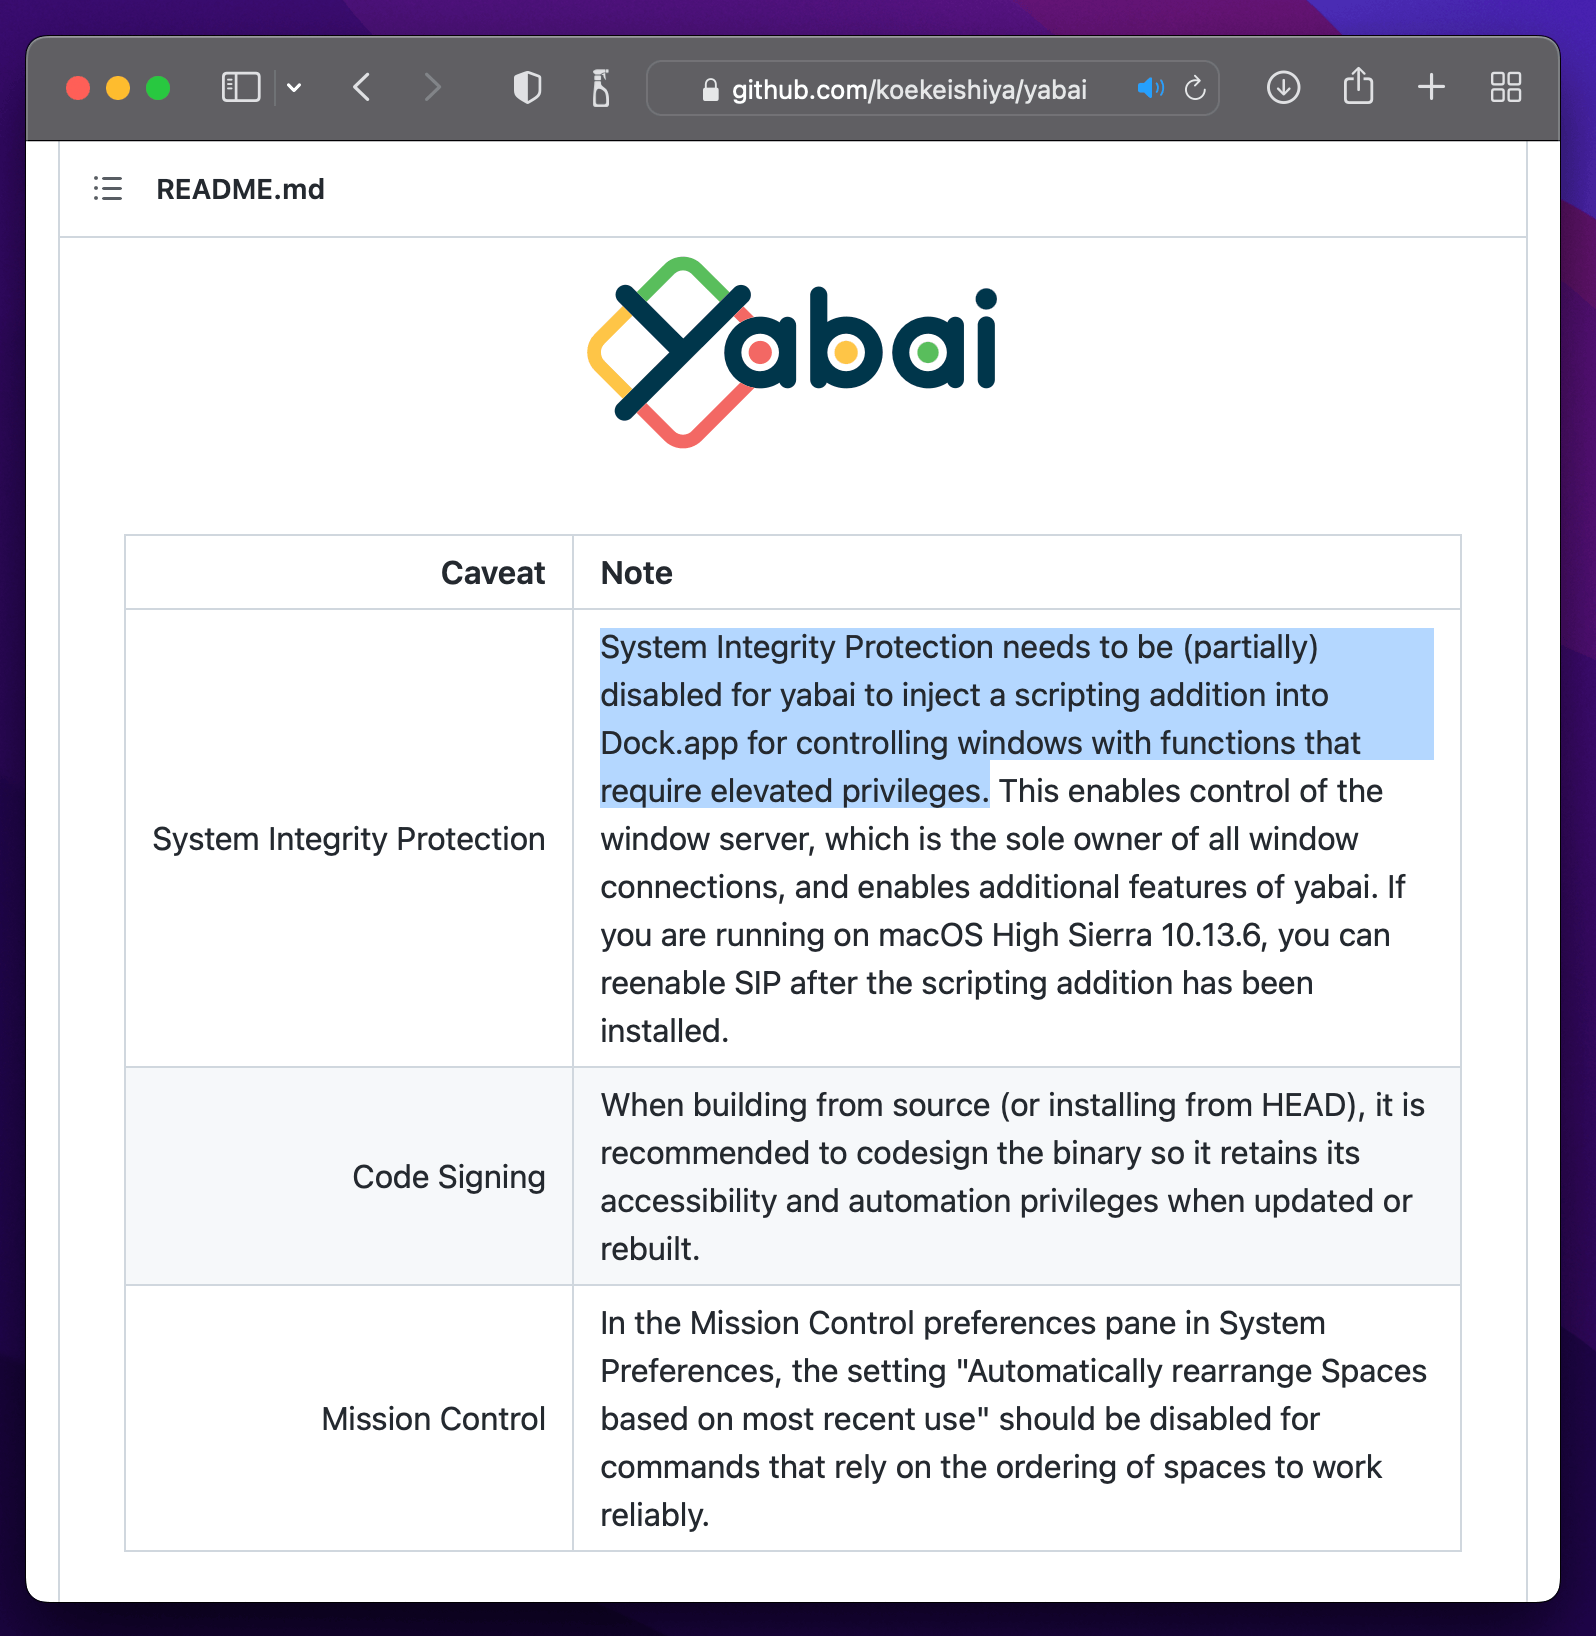
Often the ask to disable SIP is temporary, but most end-users never remember (or don’t see the value) in re-enabling it.
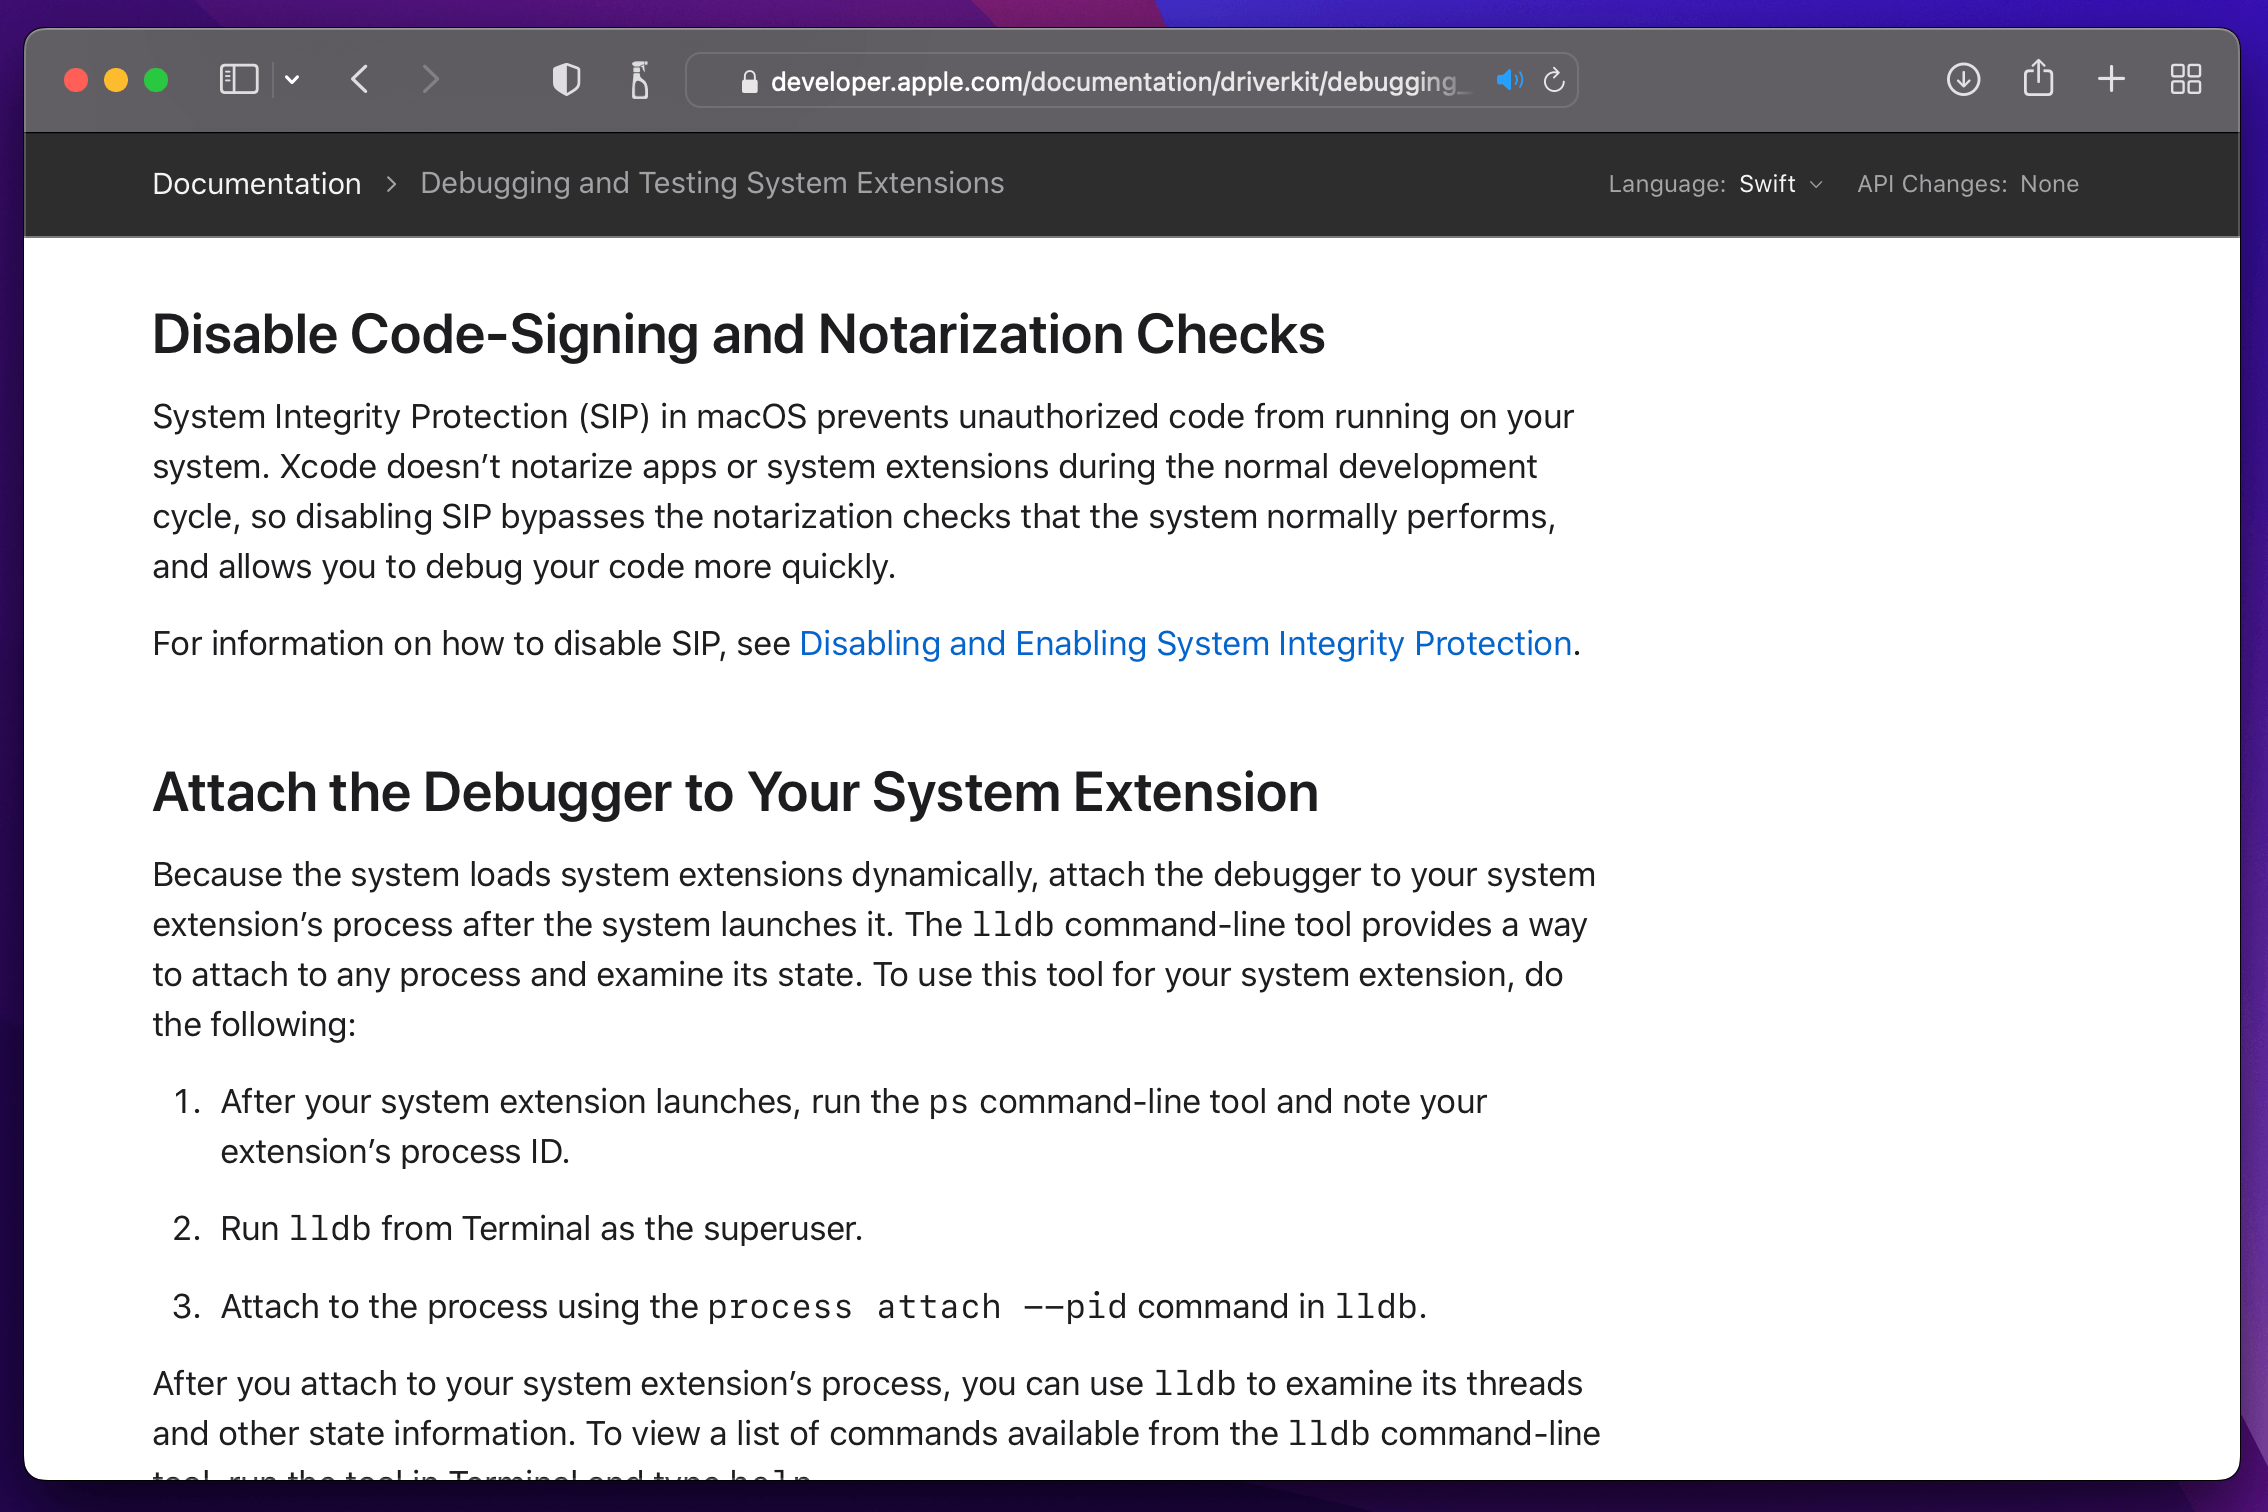
Disabled Intentionally by a Developer
Developers who are building macOS System Extensions will likely need to disable SIP and other essential macOS security capabilities to perform testing and debugging.
How To Enable System Integrity Protection
- Click on the Apple Logo at the far left of your Mac’s Menu bar.
- Click on Restart.
- During Restart Hold down CMD + R during reboot to enter Recovery Mode.
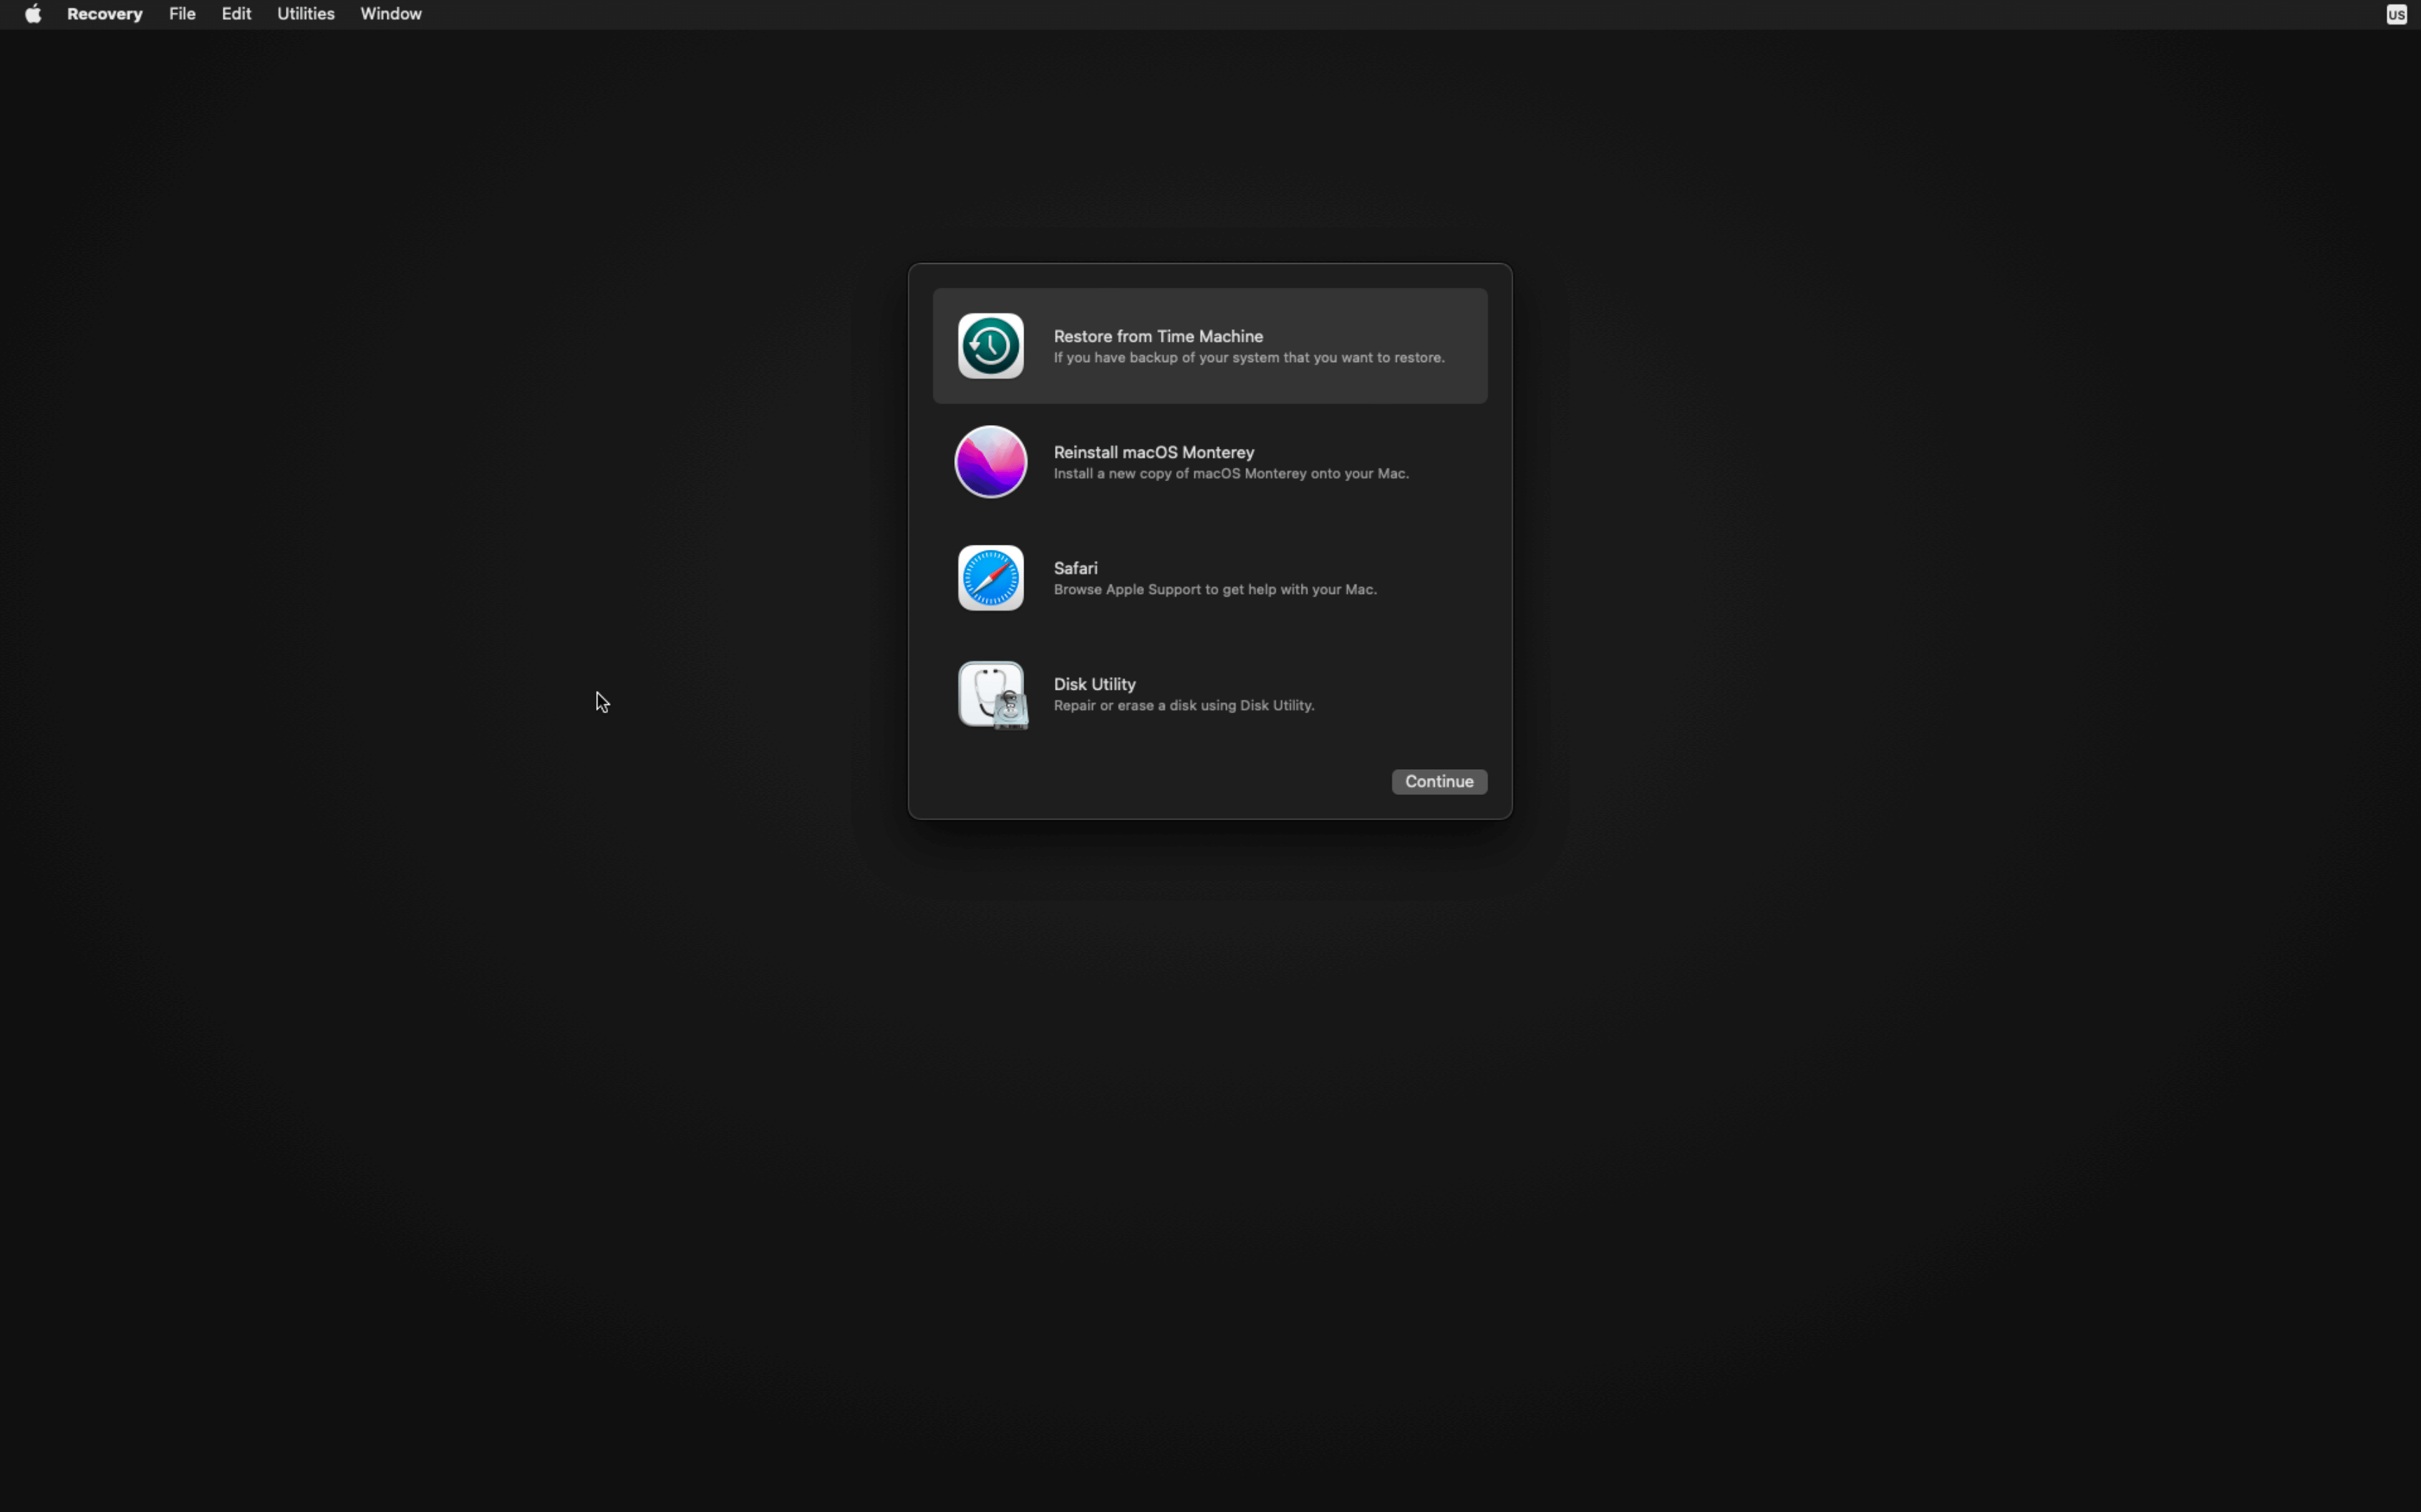
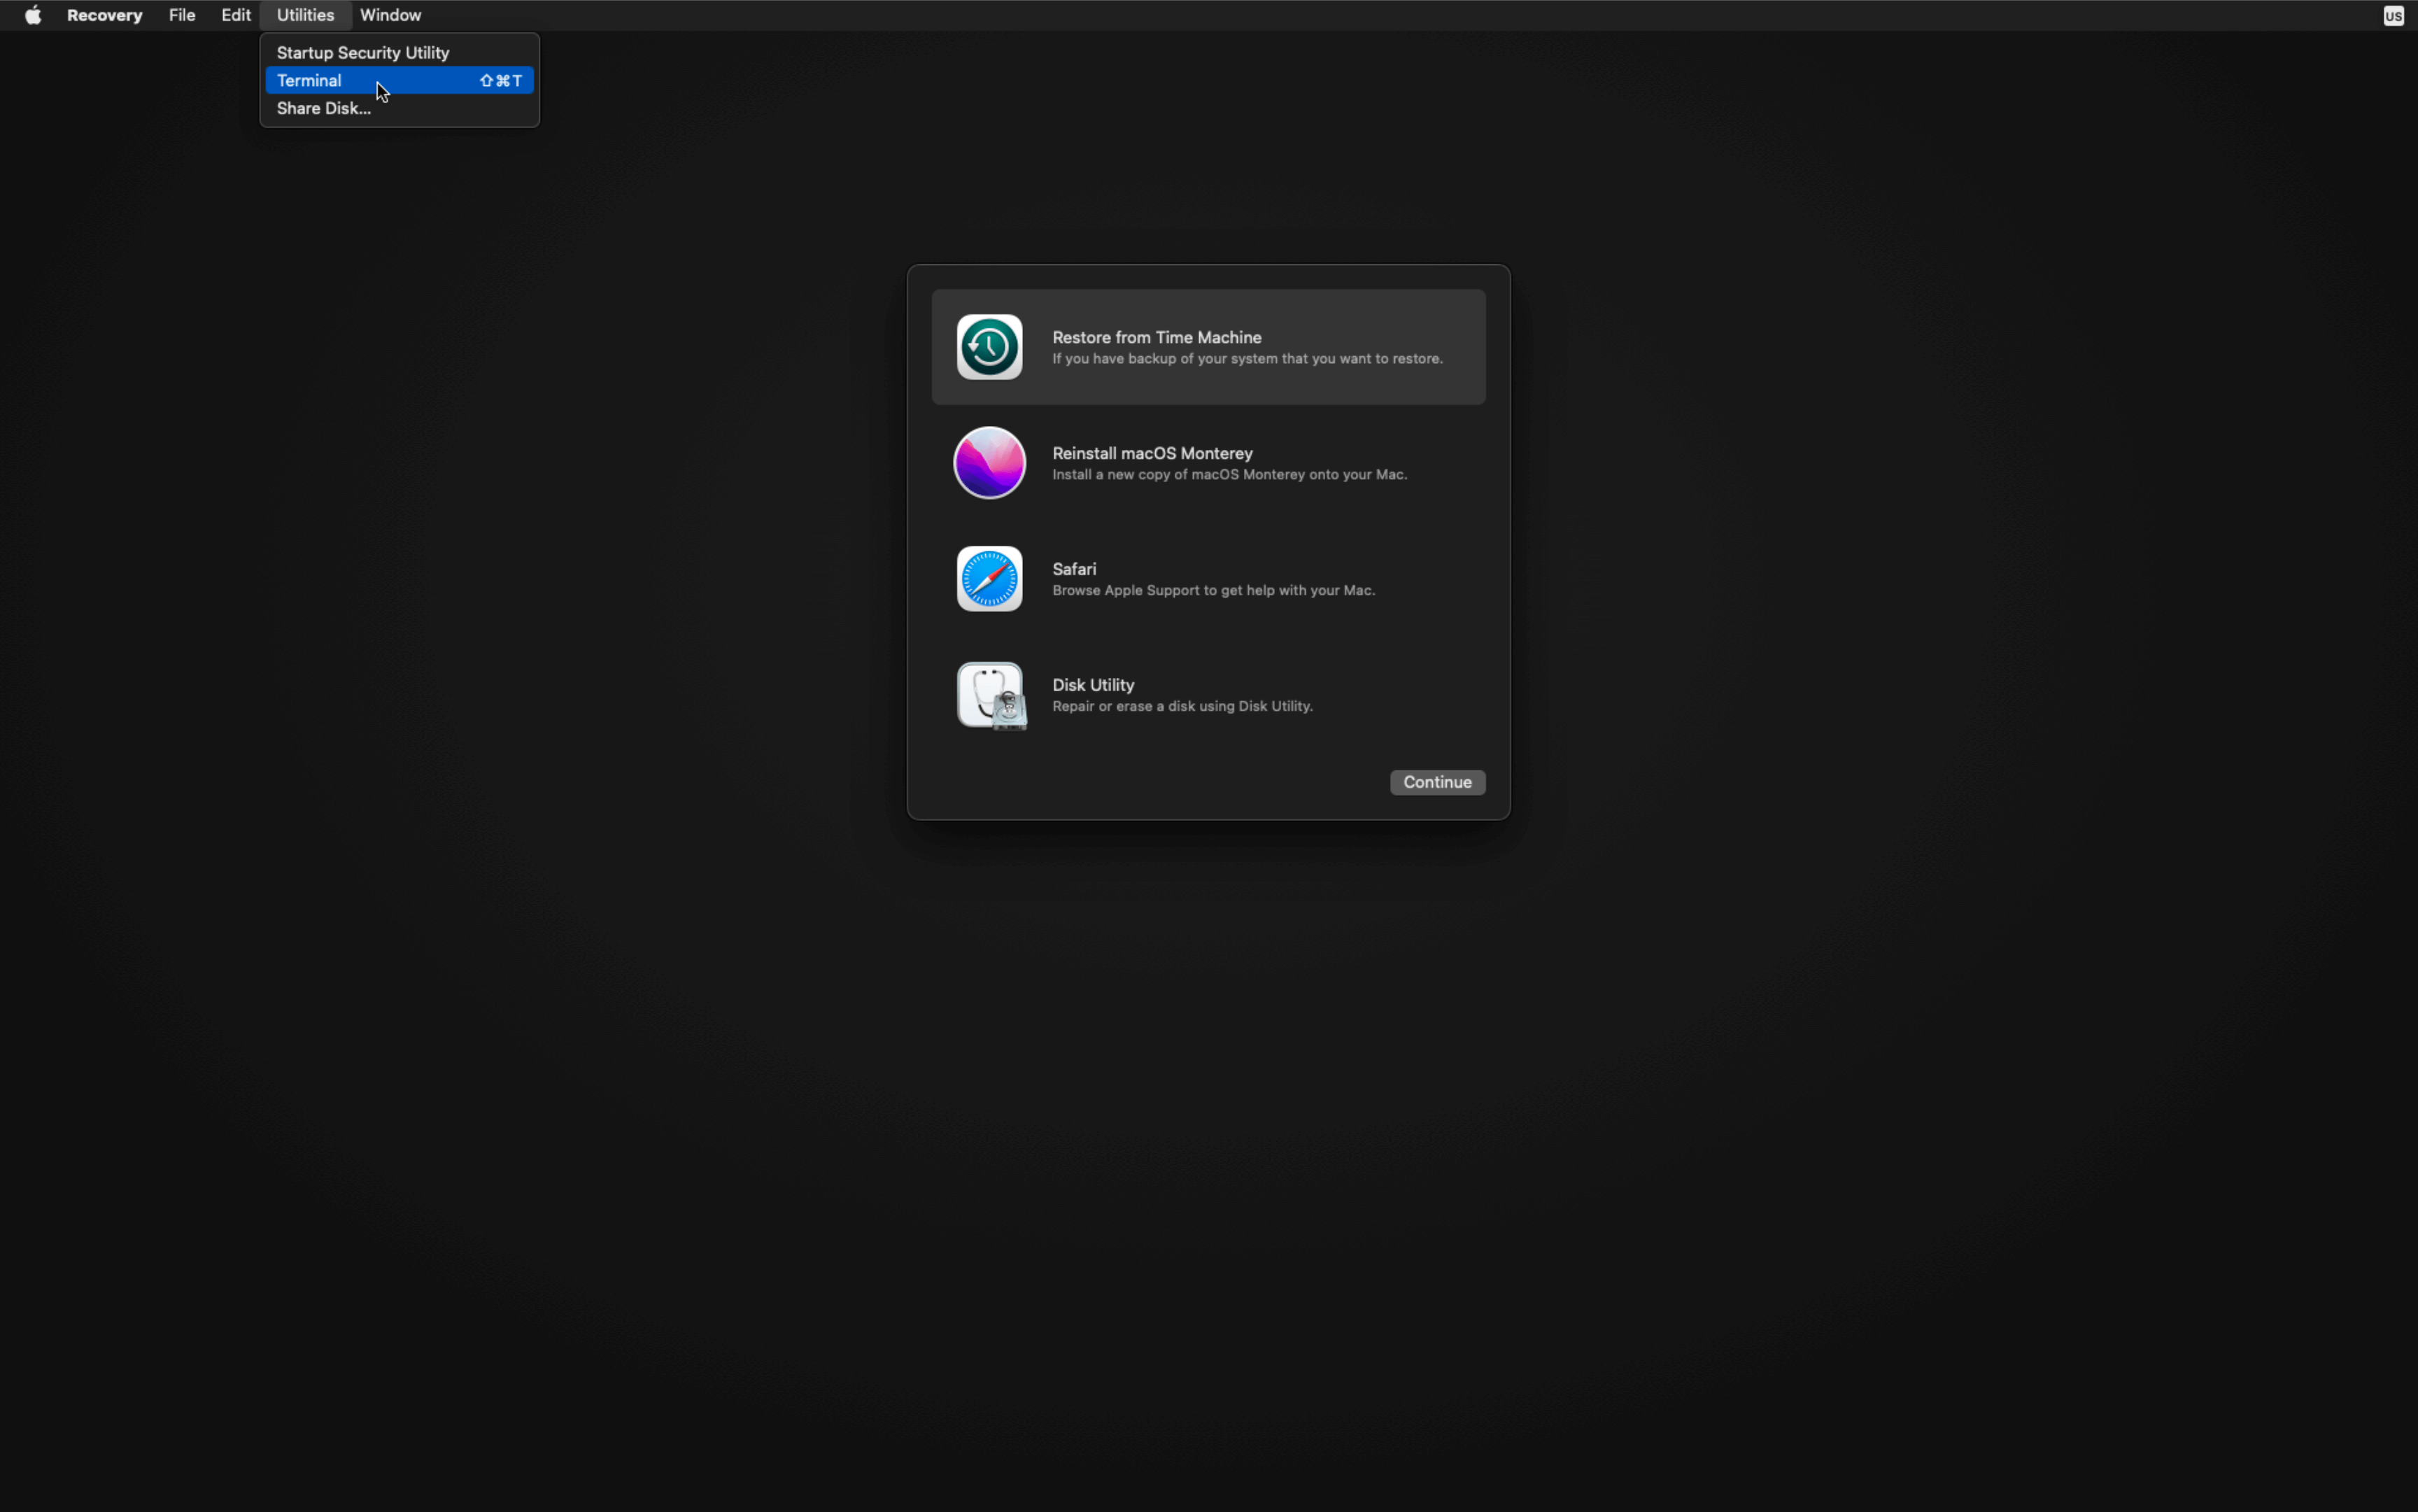
- Click on the Utilities Menu and launch Terminal.
- Type in
csrutil enable.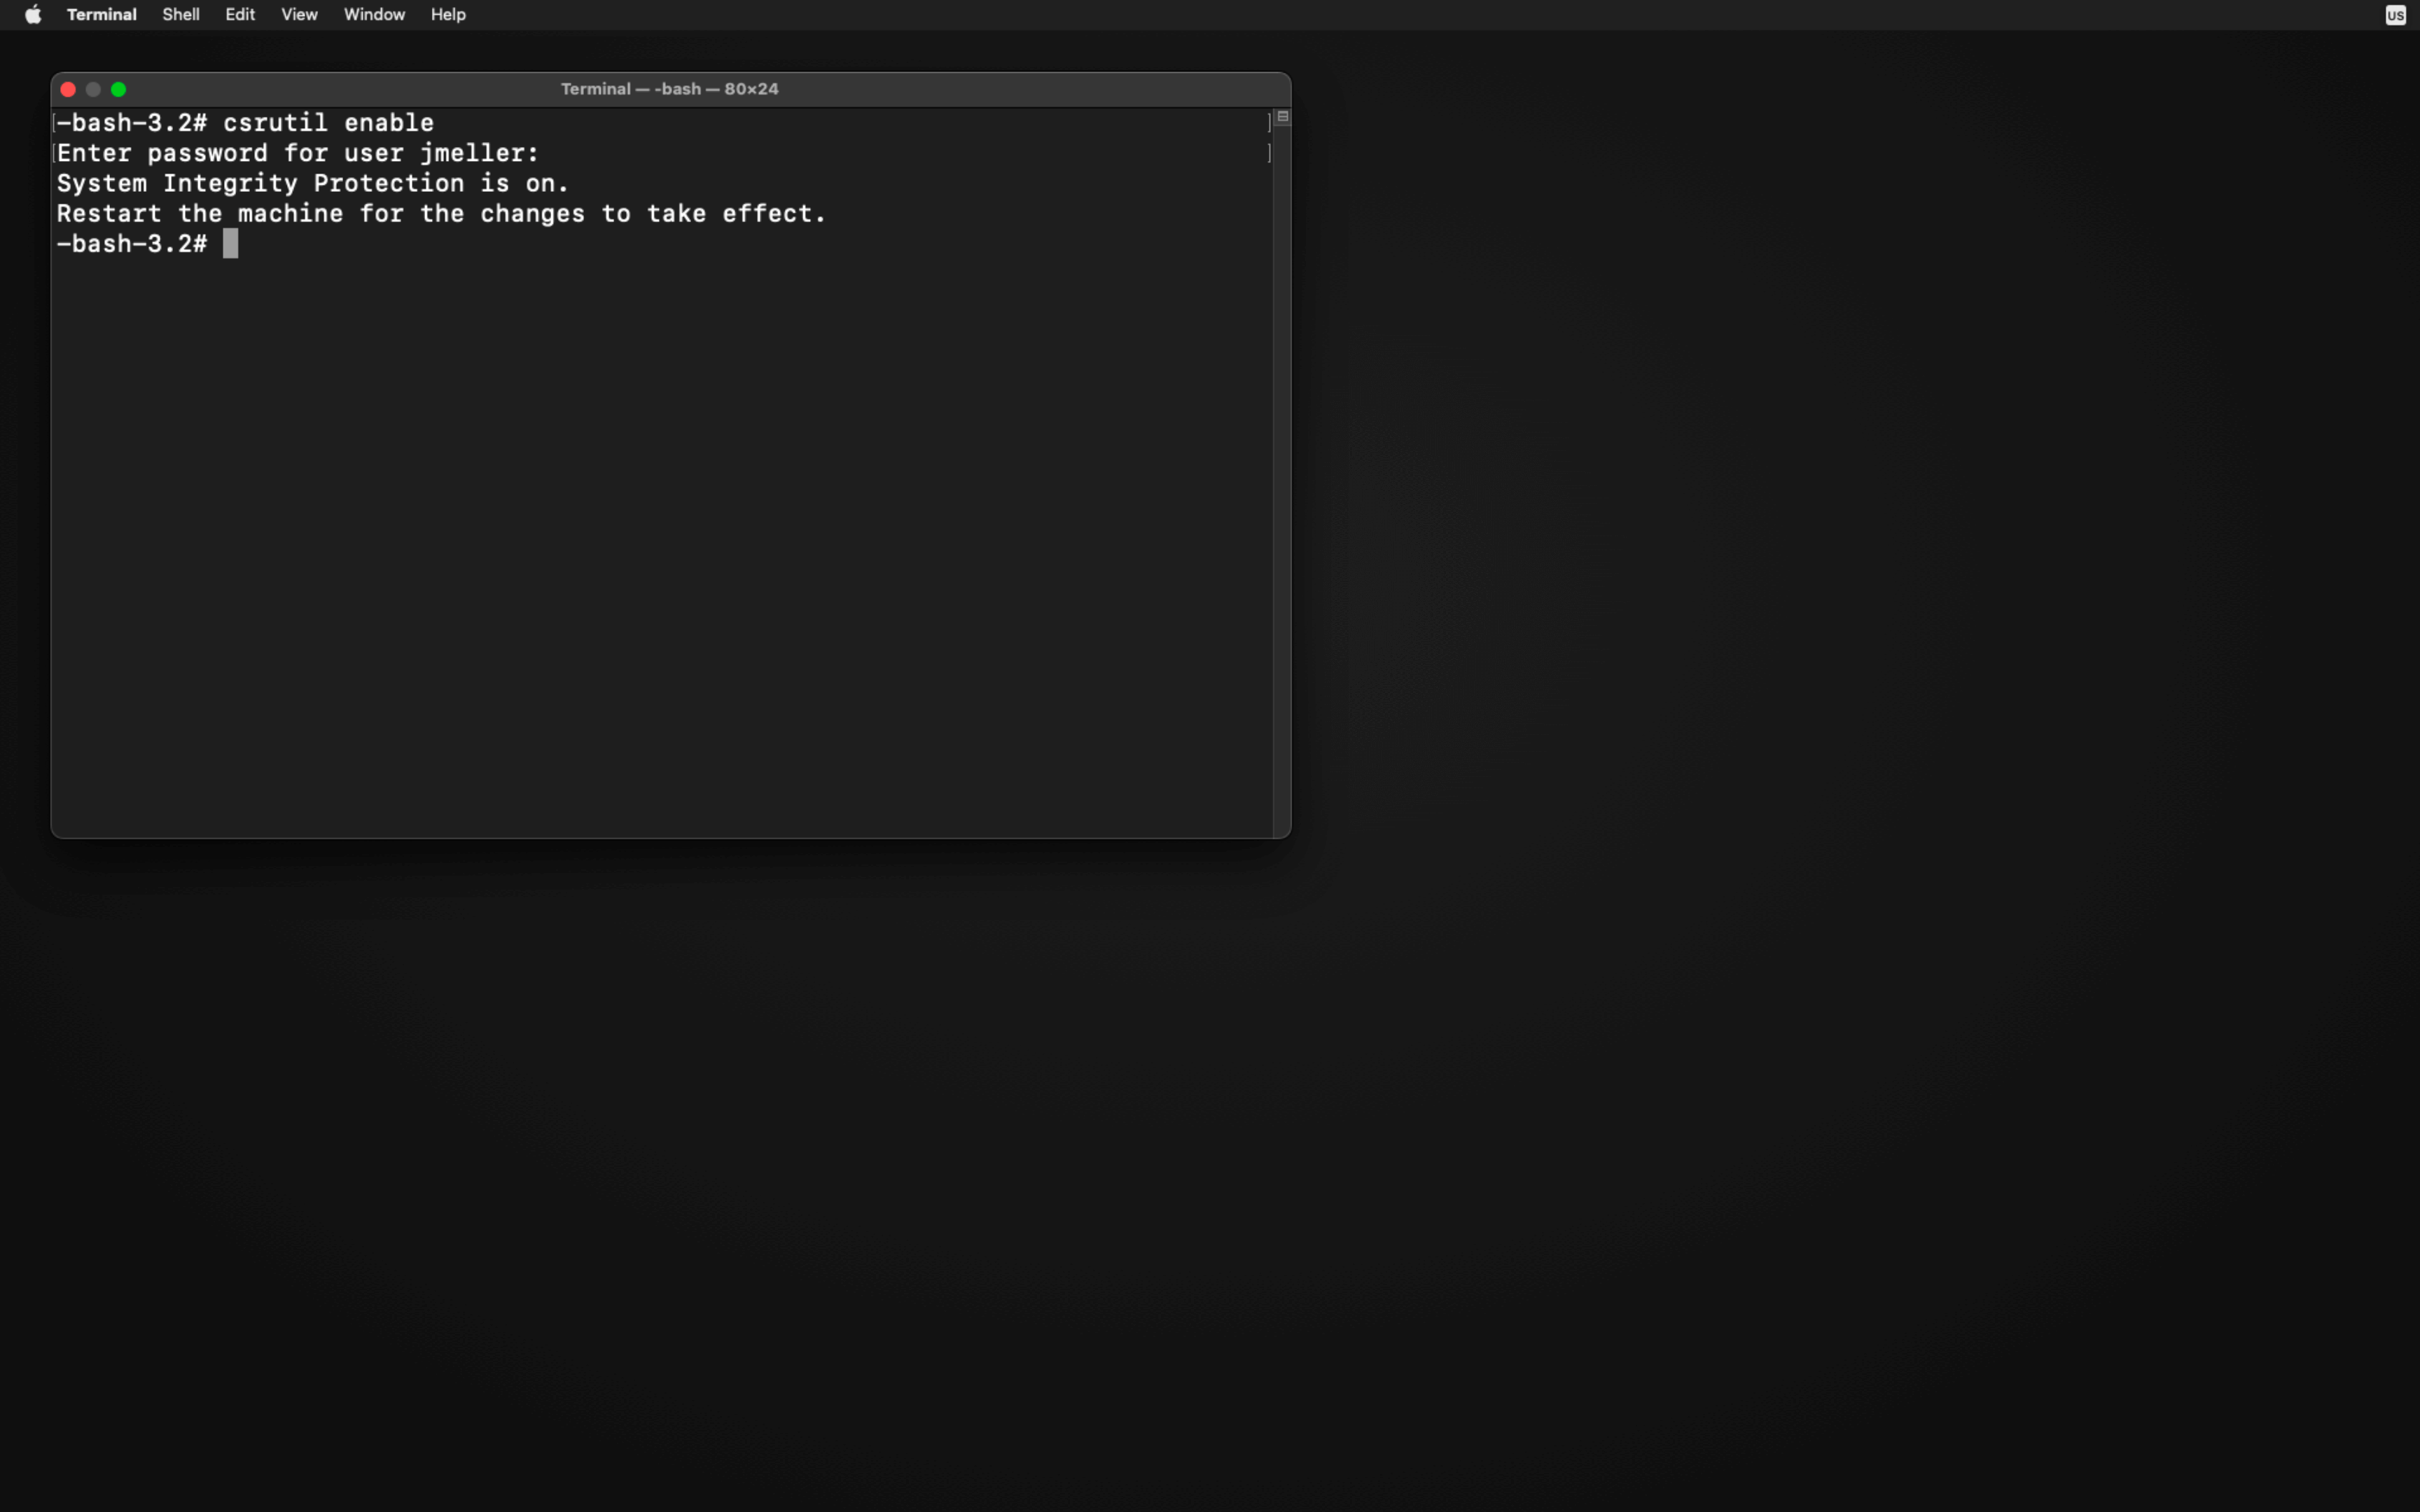
- Restart your Mac again.
For more information, please refer to Apple’s Support Article
How Does Kolide Remediate This Problem?
This problem cannot be remediated through traditional automation with tools like an MDM. You need to be able to stop devices that fail this check form authenticating to your SaaS apps and then give end-users precise instructions on how to unblock their device.
Kolide's Okta Integration does exactly that. Onece integrated in your sign-in flow, Kolide will automatically associate devices with your users' Okta identities. From there, it can block any device that exhibits this problem and then provide the user, step-by-step instructions on how to fix it. Once fixed, Kolide immediately unblocks their device. Watch a demo to find out more.